This manual provides essential guidance for installing Mitsubishi MXZ series systems, ensuring safety and efficiency. It covers indoor and outdoor unit installations, emphasizing proper tools and site preparation. Always refer to both installation and operating manuals for comprehensive instructions.
Safety Precautions and Warnings
Before proceeding with the installation of the Mitsubishi MXZ series, it is crucial to adhere to all safety precautions to avoid potential hazards. Ensure proper grounding of the system to prevent electric shock. Handle refrigerant and electrical components with care, as improper handling can lead to injury or system damage. Always wear protective gear, including gloves and safety glasses, when working with tools or handling sharp edges. Avoid overheating the system or its components, as this may result in fire or malfunction. Never attempt to modify or tamper with the system beyond the instructions provided in the manual. Ensure the installation area is well-ventilated, especially when working with refrigerants. Follow all local and national safety regulations, and consult the manual for specific warnings related to the MXZ series. Properly dispose of packaging materials and hazardous waste. Failure to comply with these precautions may void the warranty or cause serious safety risks. Always refer to the installation manual for detailed safety guidelines and ensure all steps are followed meticulously.
Required Tools and Accessories for Installation

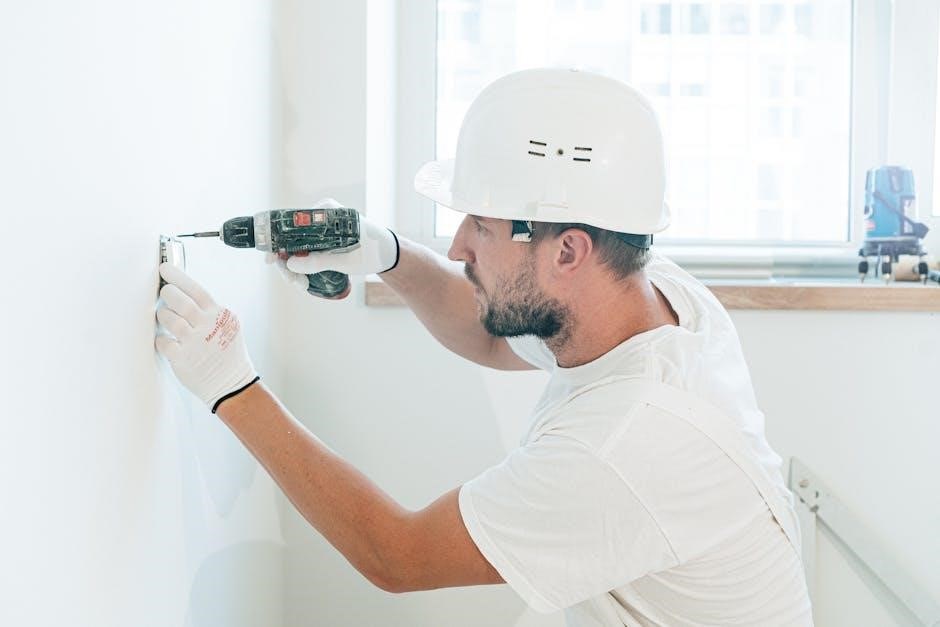
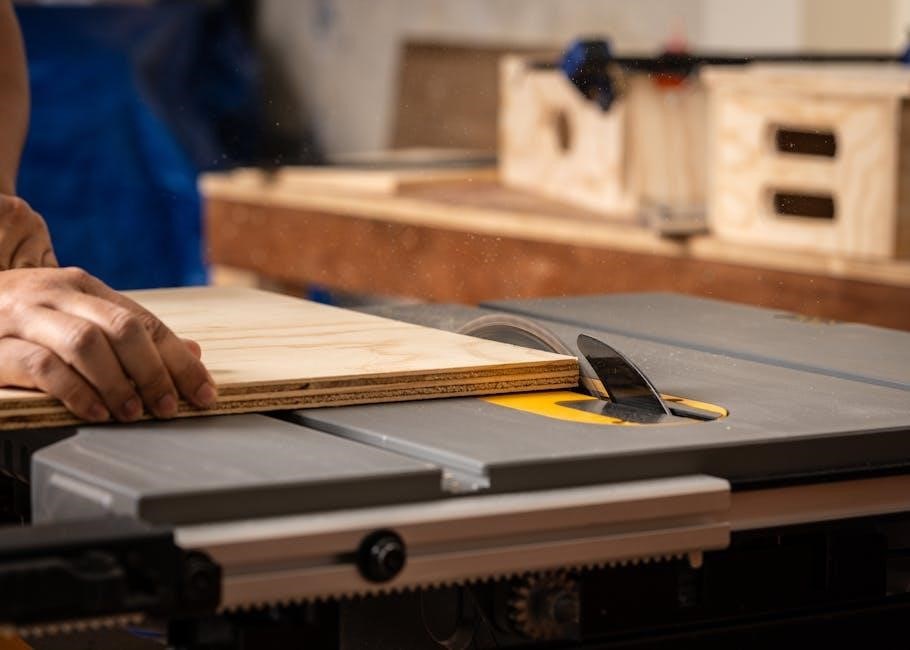
For a successful installation of the Mitsubishi MXZ series, ensure you have the following tools and accessories readily available. Essential tools include a screwdriver set, pliers, wrenches, a vacuum pump, and a manifold gauge for refrigerant handling. Additionally, a drill and drill bits may be required for mounting and piping. Specialized tools, such as a gas leak detector and a tubing cutter, are necessary for precise connections. Accessories provided with the unit include alkaline batteries for remote controls, drain hoses with insulation, and mounting brackets. Ensure all components are compatible with the MXZ series to avoid installation issues. Refer to the manual for specific tool recommendations and accessory requirements. Properly organizing these tools beforehand will streamline the installation process and reduce the risk of delays. Always verify that all items are included in the packaging or available locally before commencing work. This preparation ensures compliance with manufacturer guidelines and guarantees a safe, efficient installation.
Understanding the System Components

The Mitsubishi MXZ series consists of multiple components designed to work seamlessly together for optimal performance. The system includes an outdoor unit, which houses the compressor and fan, and one or more indoor units, such as wall-mounted, ceiling-concealed, or floor-standing models. Additionally, a branch box is required for systems with multiple indoor units, ensuring proper refrigerant distribution. Remote controllers are provided for convenient operation, while accessories like drain hoses and insulation materials support installation. Each component is engineered to meet specific functions, with the outdoor unit designed for heat exchange and the indoor units focusing on air distribution. The system also includes advanced features like sensors and control boards to regulate temperature and airflow efficiently. Understanding these components is crucial for proper installation and troubleshooting. Always refer to the manual for detailed specifications and compatibility information to ensure all parts work together harmoniously. This knowledge helps installers and users appreciate the system’s design and functionality, enabling better maintenance and operation over time.

Installation Process for Mitsubishi MXZ Series
The installation process involves pre-installation checks, mounting the outdoor unit, piping, electrical connections, and indoor unit alignment. Follow safety guidelines and use specified tools to ensure efficiency and prevent potential issues during setup. Proper adherence ensures optimal system performance and longevity.
Pre-Installation Checks and Site Preparation

Before starting the installation, ensure all components are accounted for and inspect the site for any obstructions. Verify the outdoor unit location is level, well-ventilated, and protected from direct sunlight and water exposure. Check for proper drainage options and ensure the area is clear of debris. Review the system’s electrical requirements and confirm the power supply matches the unit’s specifications. Inspect the indoor unit installation location for adequate space and accessibility. Ensure all necessary tools and accessories, such as alkaline batteries and drain hoses, are available. Familiarize yourself with local building codes and regulations to ensure compliance. Conduct a final safety check to prevent potential hazards during installation. Proper site preparation ensures a smooth and efficient installation process.
Mounting the Outdoor Unit
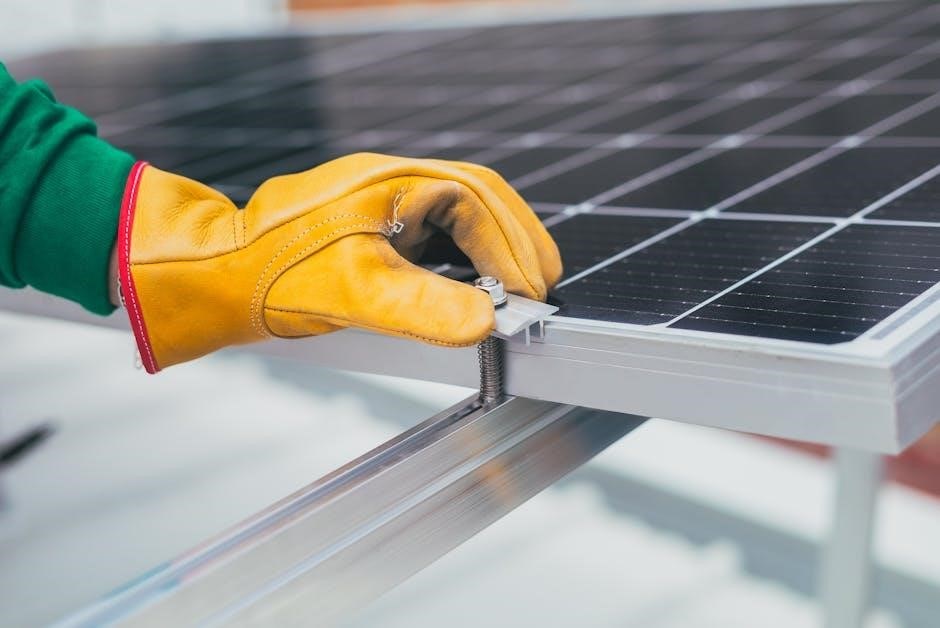
Mounting the outdoor unit is a critical step in the installation process. Ensure the location is level, well-ventilated, and protected from direct sunlight and water exposure. Clear the area of any obstructions to maintain proper airflow. Use appropriate mounting brackets to secure the unit firmly, ensuring stability and preventing vibration. Check for level alignment using a spirit level to guarantee even installation. Verify that the unit is placed on a firm, flat surface or a suitable mounting pad to avoid unevenness. Ensure the outdoor unit is installed in a location that allows for easy maintenance and service access. Proper mounting ensures efficient operation and prevents potential damage from environmental factors. Follow the manufacturer’s guidelines for specific mounting requirements, such as distance from walls or other structures. Double-check all fasteners and connections to ensure they are secure and properly aligned. Proper installation of the outdoor unit is essential for the overall performance and longevity of the Mitsubishi MXZ system.
Piping and Drainage Installation
Proper piping and drainage installation are vital for the efficient operation of the Mitsubishi MXZ system. Begin by ensuring all pipes are correctly sized and insulated to prevent energy loss and condensation. Use the provided drain hose with insulation, as specified in the manual, to connect the indoor unit’s drain port to a suitable drainage point. Ensure the drain hose is sloped correctly to prevent water from pooling, which could lead to system damage or mold growth. Insulate all refrigerant pipes to maintain optimal temperature and prevent damage from environmental factors. Follow the manufacturer’s guidelines for pipe routing to avoid kinks or bends that could restrict refrigerant flow. Secure all connections tightly to prevent leaks. Test the drainage system by running the unit in cooling mode to ensure proper water flow and disposal. Proper installation of piping and drainage ensures efficient system performance, prevents potential water damage, and maintains indoor air quality. Always refer to the installation manual for specific instructions and safety precautions during this process.
Electrical Connections and Wiring
When installing the Mitsubishi MXZ system, proper electrical connections and wiring are critical for safe and efficient operation. Begin by ensuring the power supply is turned off before starting any electrical work. Use the appropriate tools, such as wire strippers and pliers, to connect the wires securely. Refer to the wiring diagram provided in the installation manual to ensure all connections are made correctly. The outdoor and indoor units must be connected using the specified cables, and the system’s wiring must comply with local electrical codes and regulations. Ensure the voltage matches the system’s requirements to avoid damage or malfunction. Ground the system properly to prevent electrical shocks or fires. After completing the connections, test the system by turning on the power and checking for proper operation. If any issues arise, consult the troubleshooting section of the manual. Always follow safety guidelines and manufacturer instructions to ensure a safe and reliable installation. Improper electrical connections can lead to serious hazards, so double-check all wiring before finalizing the installation.
Indoor Unit Installation and Alignment
Installing the indoor unit of the Mitsubishi MXZ system requires careful planning and precise alignment to ensure optimal performance. Begin by selecting a suitable location for the indoor unit, ensuring it is level and free from obstructions. Use the provided mounting brackets to secure the unit to the wall, following the manufacturer’s guidelines for weight distribution and stability. Proper alignment with the outdoor unit is crucial for efficient operation, so ensure the drainage system and piping connections are correctly positioned and sealed. After mounting, connect the indoor unit to the outdoor unit using the pre-charged refrigerant lines, ensuring all joints are tightly sealed to prevent leaks. Finally, adjust the unit’s orientation and alignment to match the system’s design specifications. Double-check all connections and ensure the unit is level before proceeding to the final testing phase. Proper installation and alignment are essential for maintaining energy efficiency, system longevity, and overall performance. Always refer to the installation manual for specific alignment recommendations and safety guidelines.
Final Checks and Testing
After completing the installation, perform a series of final checks and tests to ensure the Mitsubishi MXZ system operates efficiently and safely. Begin by verifying that all electrical connections are secure and meet local regulations. Inspect the piping and drainage systems for leaks or blockages, ensuring proper insulation and alignment. Test the refrigerant lines to confirm they are tightly sealed and functioning correctly.
Next, power on the system and check for proper operation, including cooling, heating, and airflow. Use the remote control to test all functional modes and verify that the system responds accurately. Ensure the outdoor and indoor units are synchronized and operating in harmony. Perform a leak test on the refrigerant lines using a leak detector to confirm system integrity.
Finally, check the drainage system to ensure proper water flow and disposal. Verify that all safety features, such as overload protection and temperature limits, are functioning as intended. Review the installation manual for any additional post-installation checks and document the results for future reference. A thorough final inspection ensures the system performs optimally and meets Mitsubishi’s quality standards.
Troubleshooting Common Issues
Troubleshooting is essential for resolving issues that may arise during or after the installation of the Mitsubishi MXZ system. Common problems include error codes, insufficient cooling or heating, and noise issues. Always refer to the installation manual for specific error code interpretations and solutions.
- Error Codes: The system may display error codes indicating issues like refrigerant leaks, sensor malfunctions, or communication failures between units. Check the manual for code meanings and follow corrective actions.
- Refrigerant Leaks: Inspect joints and connections for leaks using a leak detector. If a leak is found, repair or replace faulty components and recharge the refrigerant if necessary.
- Insufficient Performance: Check airflow obstructions, ensure proper insulation, and verify that the system is sized correctly for the space. Clean filters and ensure proper drainage to maintain efficiency.
- Noise Issues: Excessive noise may result from improper installation, loose parts, or debris near the units. Tighten all mounting hardware and ensure the system is level.
For unresolved issues, consult the installation manual or contact a certified Mitsubishi technician. Regular maintenance and adherence to troubleshooting guidelines ensure optimal system performance and longevity.